Control Mode

Here you can change the operating mode of the controller and set the LED brightness. Three modes are available:
QLab Mode
In QLab mode, the FrenschPress communicates with QLab via either MIDI or OSC.
Default LED color: All three buttons light gray (#7D7D7D) by default. The color can be customized in the settings area.
USB Connection (MIDI MSC)
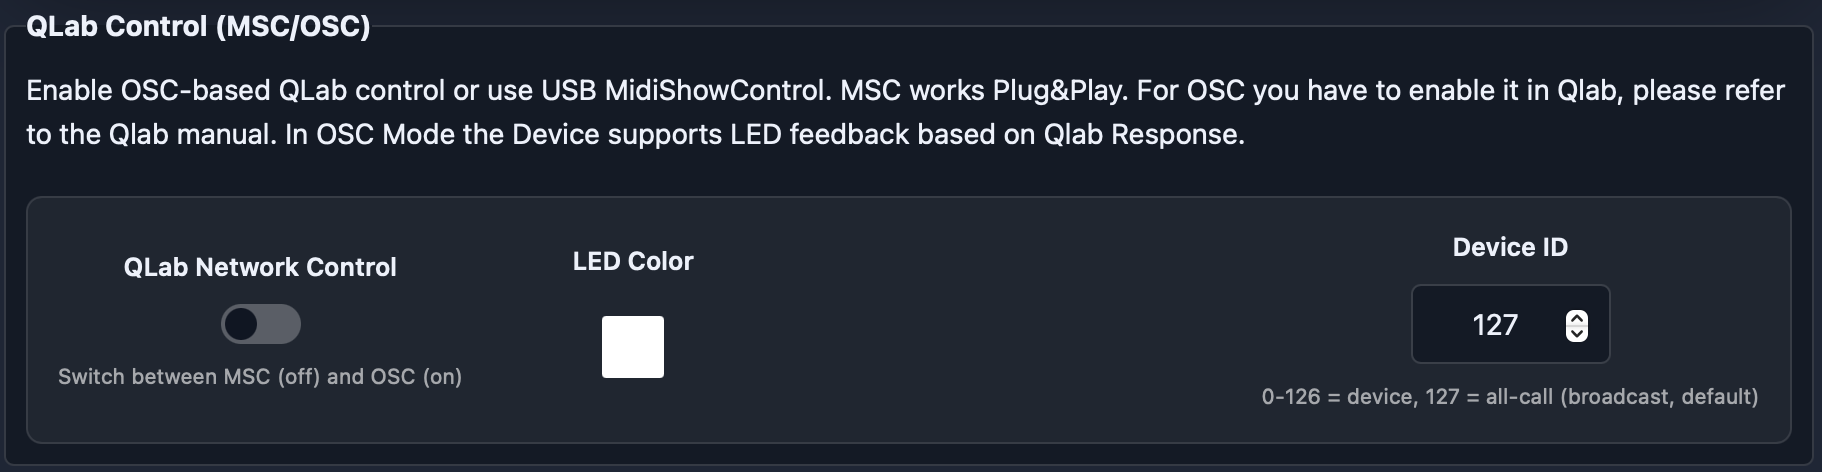
Simply connect via plug & play. Both USB ports function identically. Under LED Color, choose the preferred color for the LEDs. Use Device ID to set the target device ID.
Network Connection (OSC)
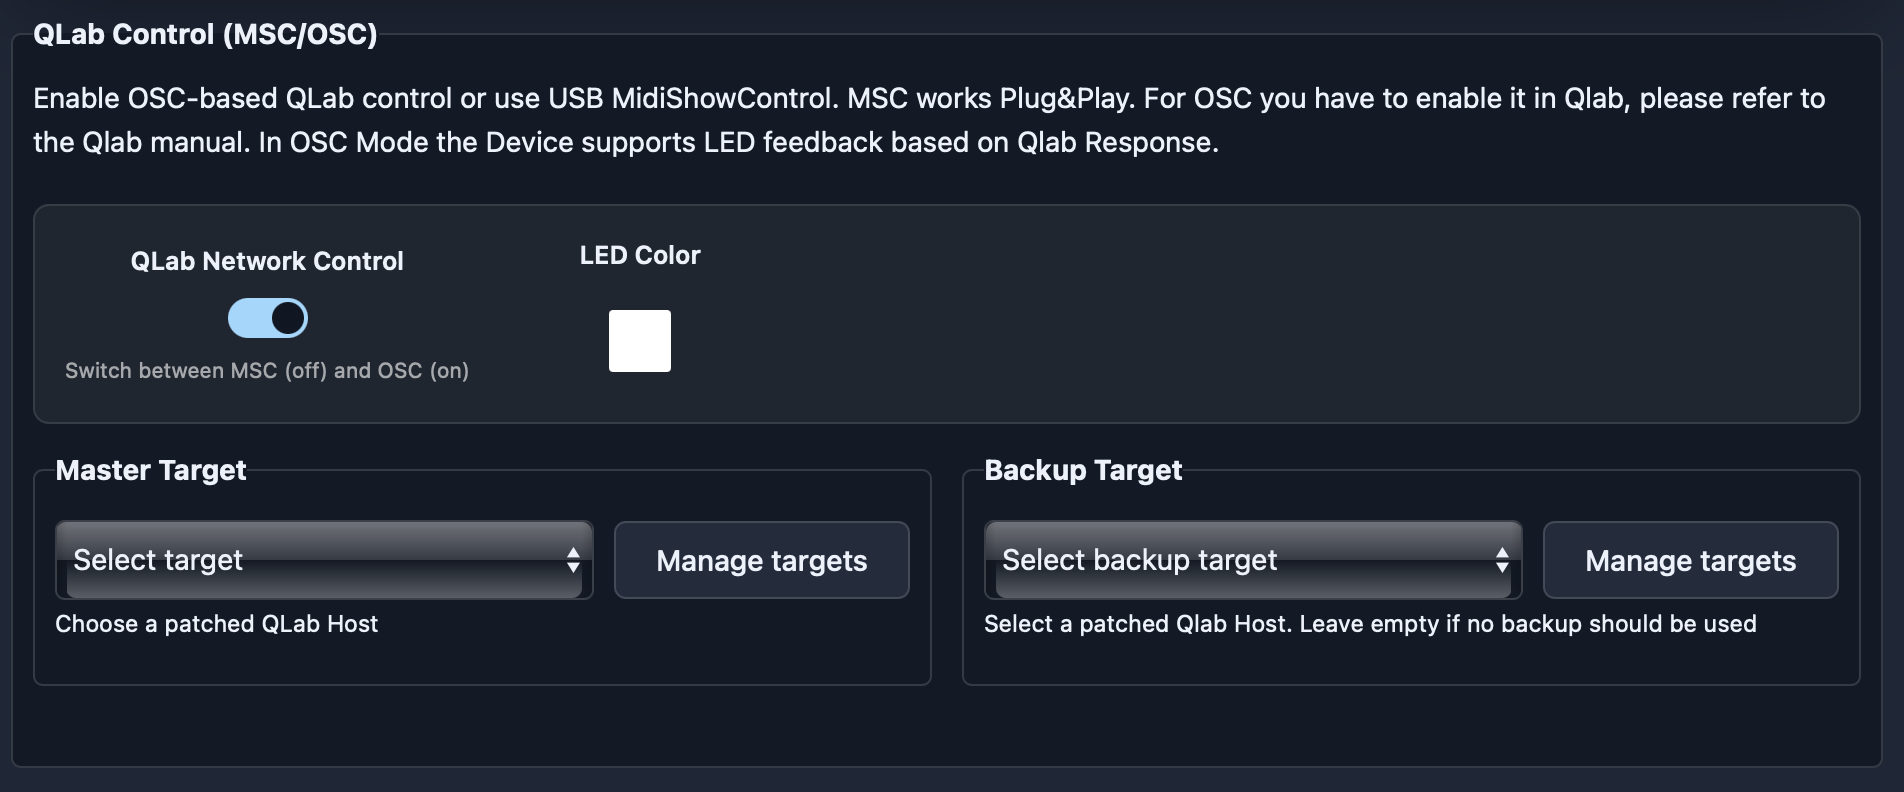
Enable Network Control and select targets for the master and optionally a backup system from the dropdown — done. Targets must be patched beforehand (see Manage). In OSC mode the cue state (Playing, Paused) is shown on the button LEDs as feedback.
There is also an option to set up OSC automatically. Press the Tools menu → "Scan for QLab/GoButton Hosts" button, or hold the Encoder Push for about 5 seconds. A blue running light indicates an active scan. A green blink indicates a successful setup. A red blink means no active QLab host was found. If a passcode/ID is required, it must be configured manually for the respective target.
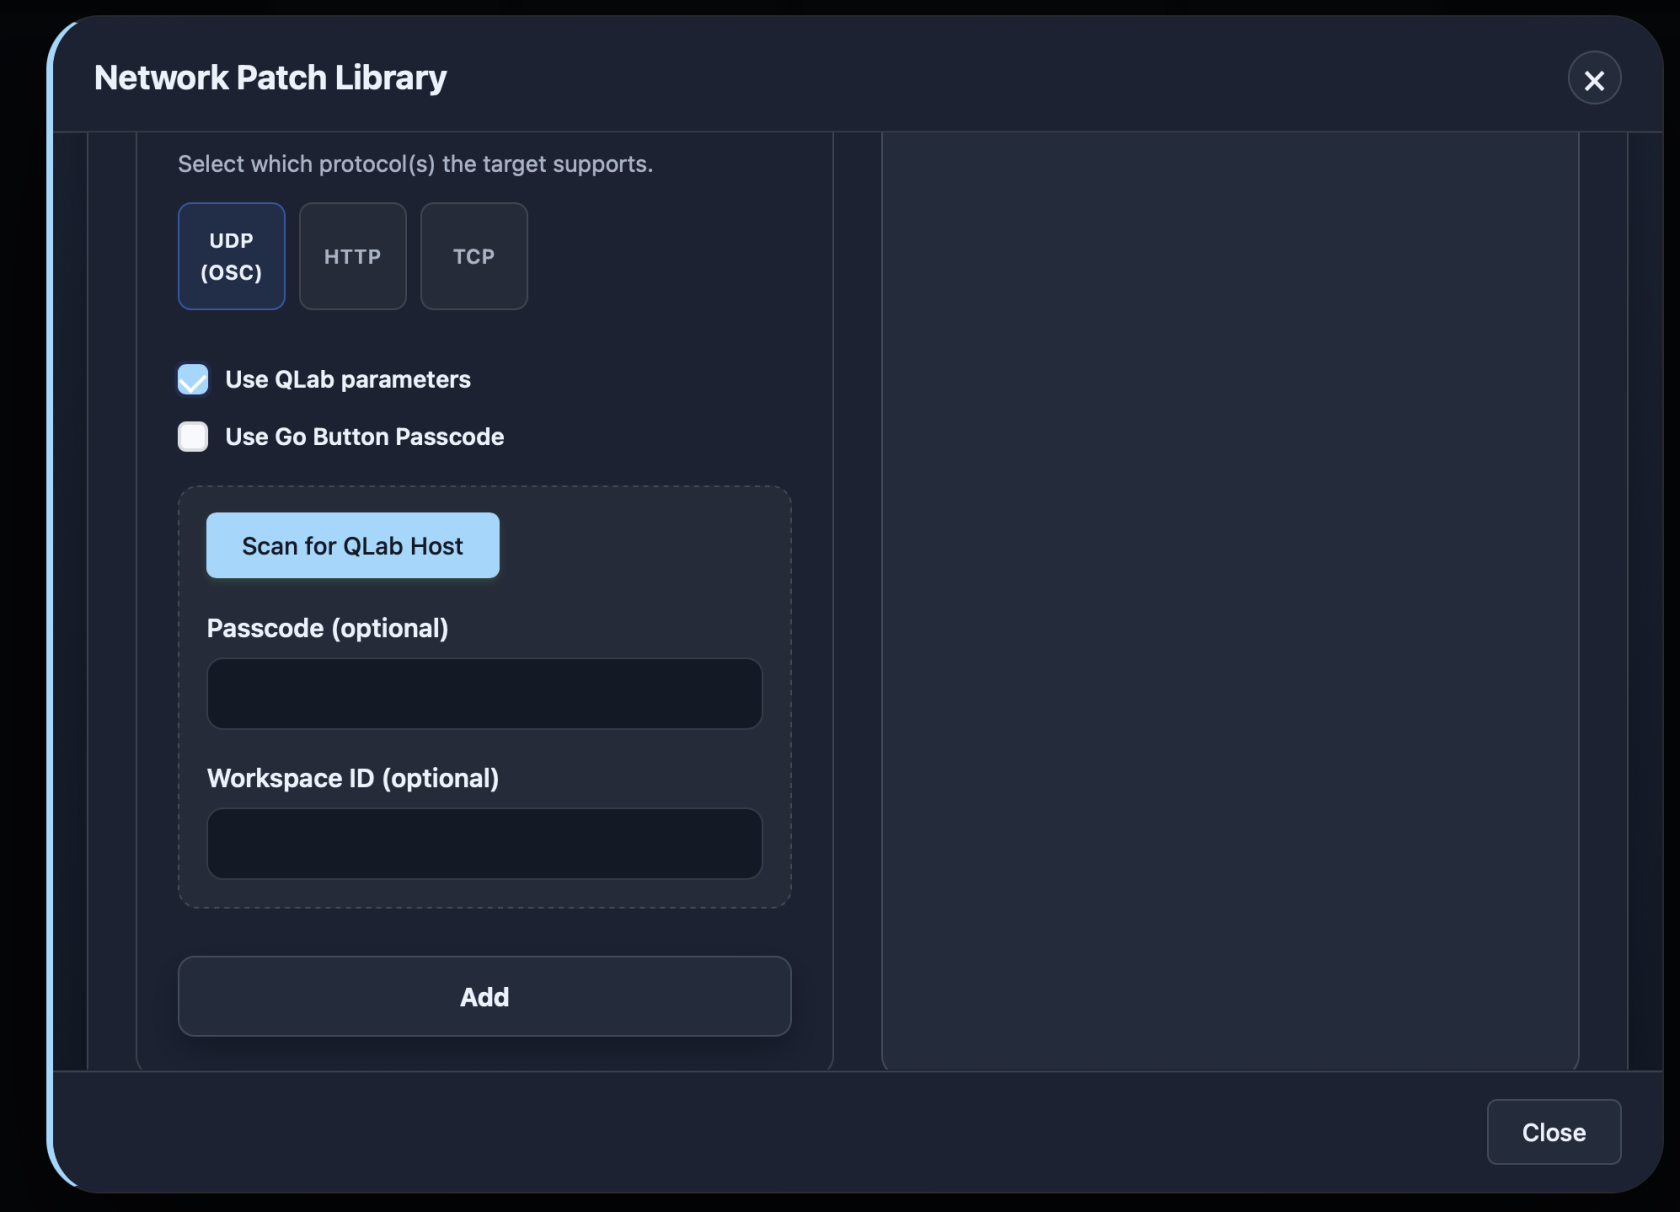
For OSC mode (and scanning) to work, OSC must be enabled in QLab. Please refer to the QLab documentation.
Custom Mode
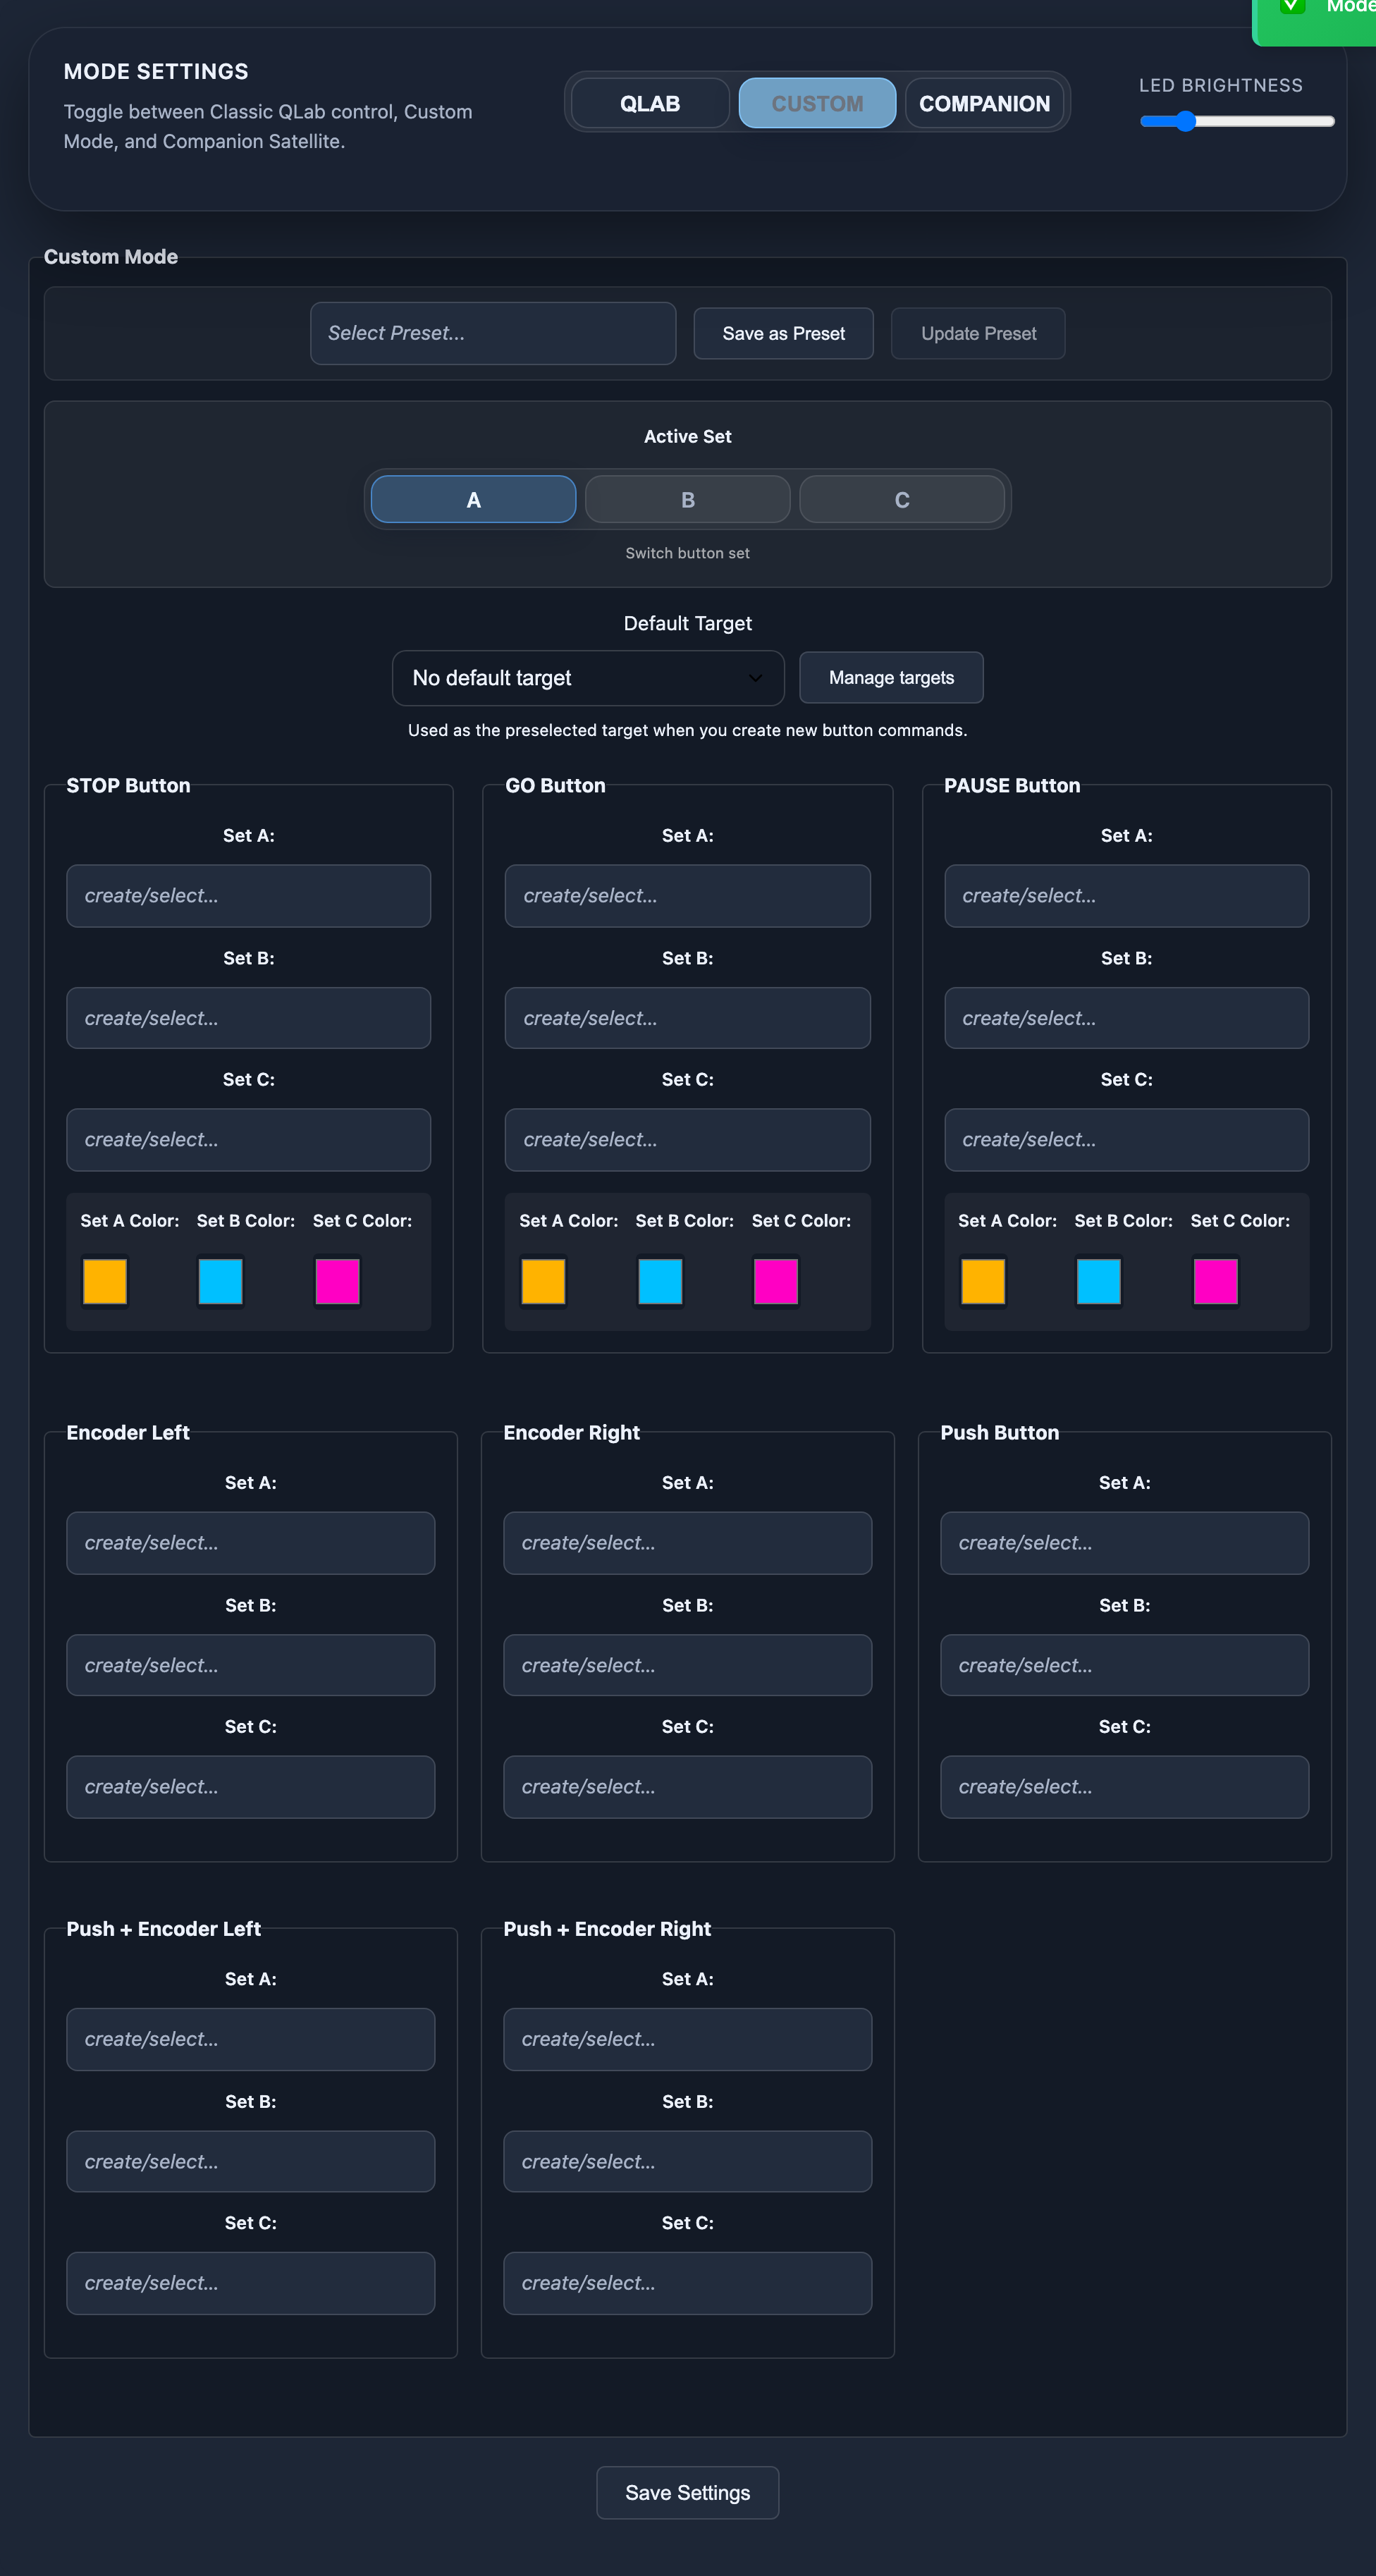
In Custom Mode, the controller can be fully customized. Presets can be saved and loaded, and each button can be assigned its own function.
Presets
Presets bundle macro assignments (and optional LED colours) for all buttons and the encoder. They can be loaded from the preset picker, exported, imported, and saved as custom user presets.
Applying a Preset to a Set (A/B/C)
When a preset contains fewer than three button sets, a set picker dialog appears on apply. This lets you choose exactly which slot the preset is loaded into without overwriting the assignments of other sets.
| Preset contains | Dialog options |
|---|---|
| 1 set | Set A · Set B · Set C — the preset is copied into the chosen slot |
| 2 sets | A+B · B+C — the preset starts at the chosen slot |
| 3 sets | No dialog — all three sets are overwritten directly |
Presets from the plugin repository (e.g. TC Master Clock) often contain only one or two sets. The set picker lets you slot them cleanly into an existing layout.
Button Sets (A / B / C)
Each button/encoder has three fields representing three button sets (A/B/C), which can be switched between. This allows assigning up to three functions per button, depending on the active set.

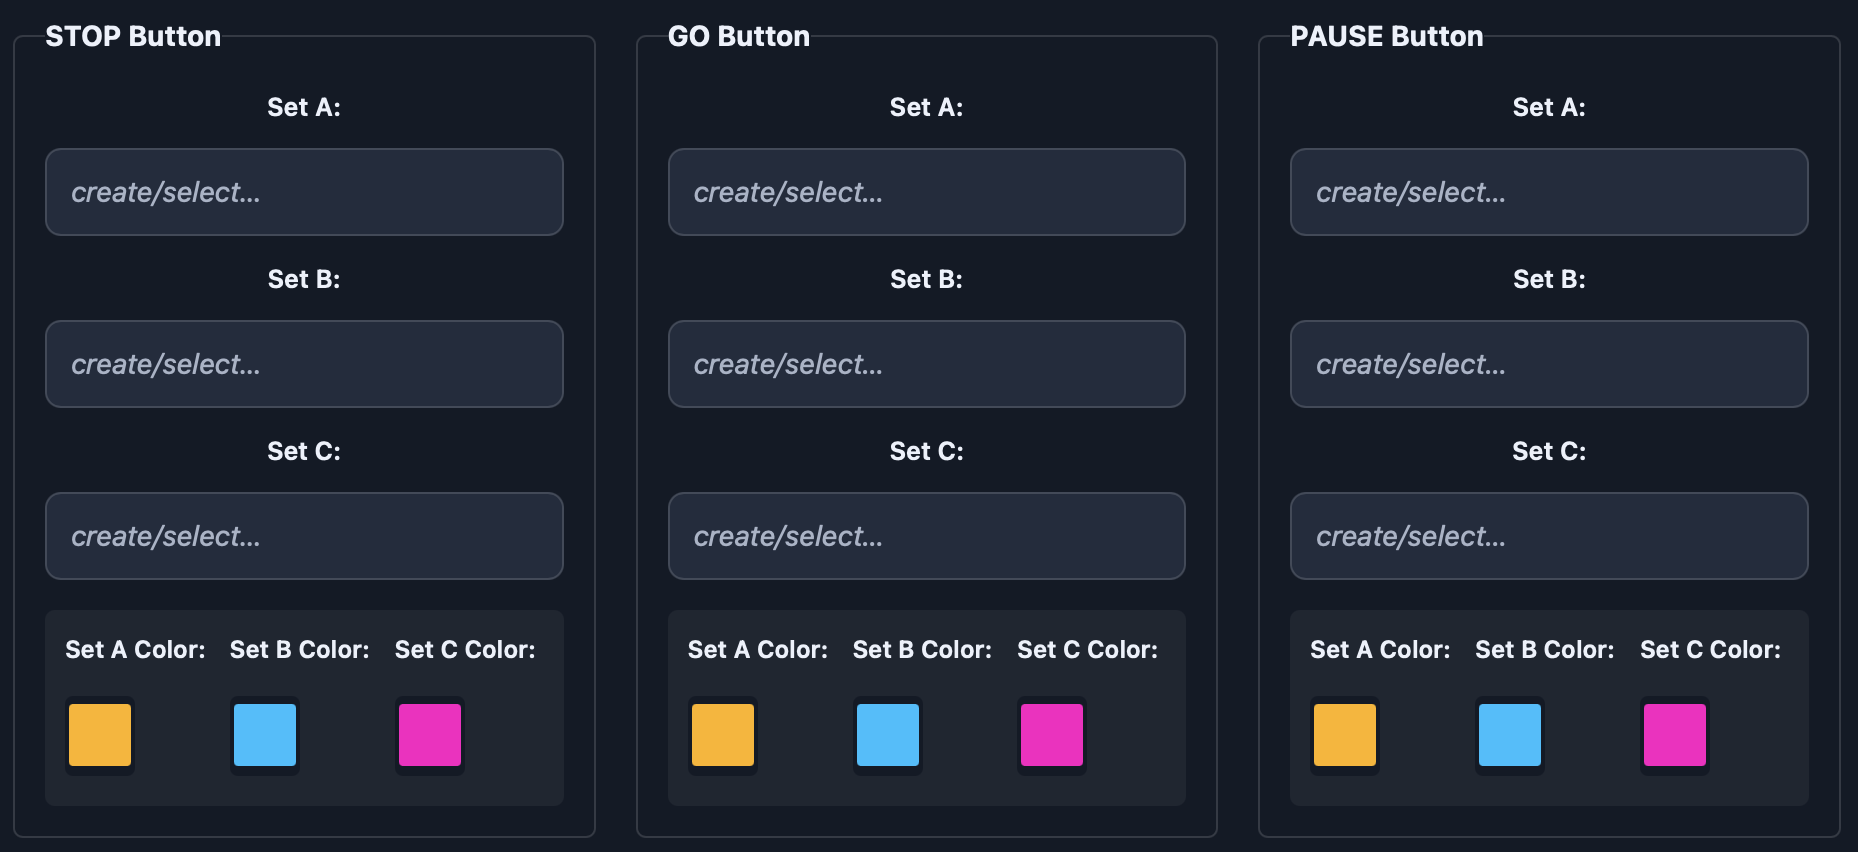
For each button, the function and LED color can be set individually per set.
Default LED colors (Custom Mode):
| Button Set | Default Color |
|---|---|
| Set A | Amber #ffb300 |
| Set B | Cyan #00c0ff |
| Set C | Magenta #ff00c3 |
Available Command Types
| Protocol | Commands |
|---|---|
| MIDI | Note, Control Change, Program Change & SysEx via USB and RTP MIDI (Apple MIDI) |
| OSC | Open Sound Control (optionally with QLab passcode) |
| HTTP | GET, POST, PUT, DELETE |
| TCP | OSC, MIDI, RAW socket |
| Art-Net | DMX values with universe/channel, optional fade, unicast/broadcast |
| sACN | DMX values with universe/channel, optional fade, unicast/broadcast |
| Delay | Wait times between macro steps (milliseconds) |
| Snapshot | Art-Net/sACN DMX recorder for up to 10 universes |
Checking a snapshot (Snapshot Monitor)
A snapshot macro records the Art-Net/sACN values that are live at that moment. To see exactly what ended up in it, use the Snapshot Monitor: in the macro library (or in the macro editor), click Monitor next to the snapshot macro.
- Pick the universe at the top if the snapshot recorded more than one
- Non-zero only hides every channel sitting at 0, leaving just what the snapshot actually drives
Handy for checking before a show that a snapshot holds what it should — without firing it.
The Encoder as a Master Fader
When the encoder push carries an Art-Net or sACN macro — a normal one or a snapshot — turning becomes a master fader for exactly that macro. Pushing still toggles it on and off.
There is no setting for this: it follows from the mapping. Put a lighting macro on the push slot and turning is a level; take it away and turning does whatever it is assigned to again.
| Behaviour | |
|---|---|
| The level belongs to the macro | Switching button set does not change the level you set |
| After a restart | Every macro comes back at full |
| Turning while it is off | Nothing changes on the wire, but the level is remembered: the next time it comes on, it fades to that level |
| Turning during a fade | The fade keeps running and the master scales it |
| Other macros on the same channels | HTP still applies: a dimmed macro loses against a brighter one |
Because the turn gesture is spoken for, Art-Net and sACN macros no longer appear in the encoder turn dropdowns, and the two turn fields are greyed out as soon as a lighting macro sits on the push slot. Push + turn stays freely assignable — that is a different gesture.
A macro already stored on a turn slot stays visible and can still be removed.
The same applies to the encoders of a Stream Deck +. On the deck, the matching key can show the level as a fade bar.
Switching Button Sets
The Switch Set macro allows switching between button sets (A/B/C). It can be assigned to any button and configured individually. You can switch individual buttons or all at once. For example, a configured encoder push can rotate through the three sets: A → B → C → A, and so on.
Alternatively, an OSC command can be sent to the FrenschPress: "<device-IP>/fpress/set [\"A\"|\"B\"|\"C\"]" (see OSC)
Creating Commands
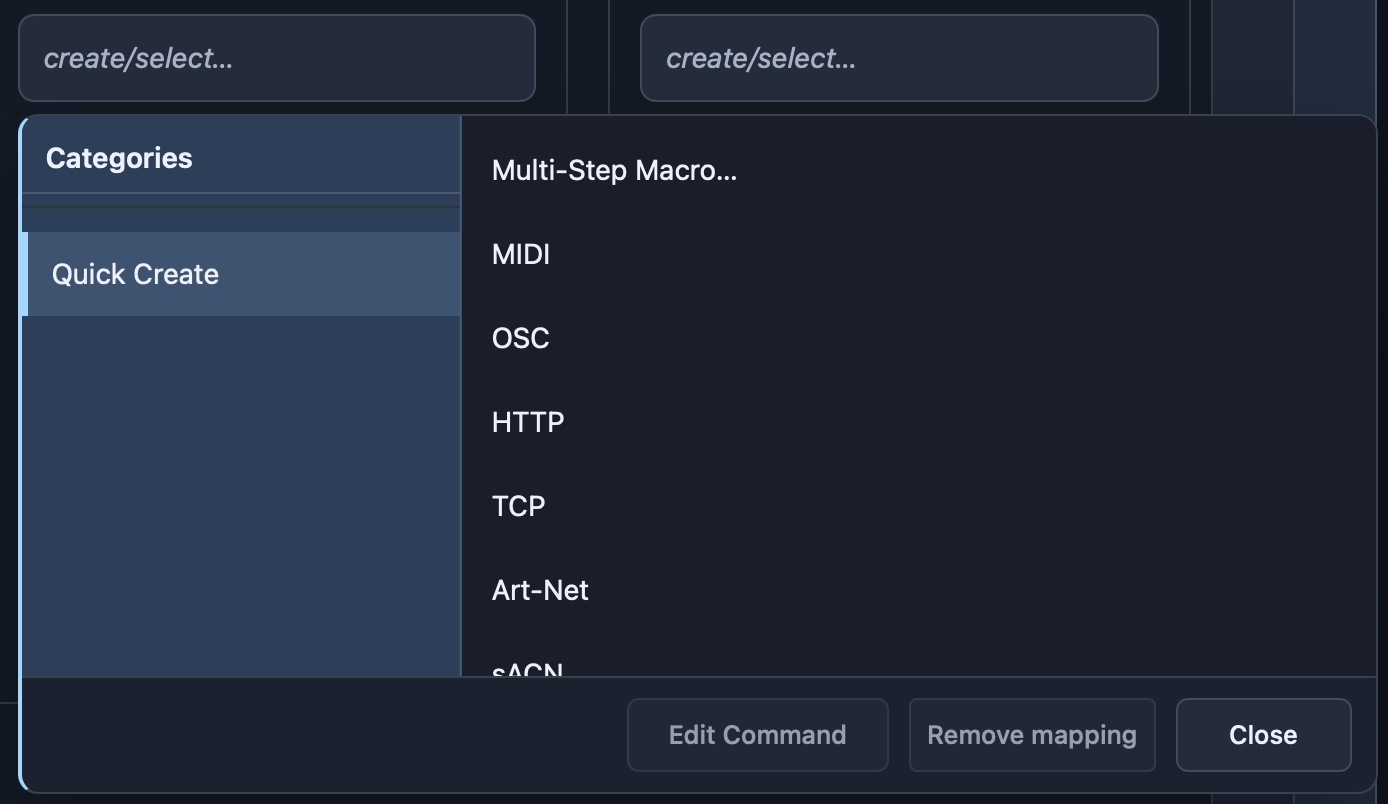
Click on a button field to open the library. You can select an existing command or create a new one via Quick Create. In Quick Create, choose the protocol and either create a single command or a multi-step macro.
Single Command
Configure the command in the dialog and save with "Create & Assign". The macro is now assigned to the button and stored in the Custom library.

For network macros, select the target on the left and define the command on the right. Depending on installed plugins, you can choose predefined commands or create your own.
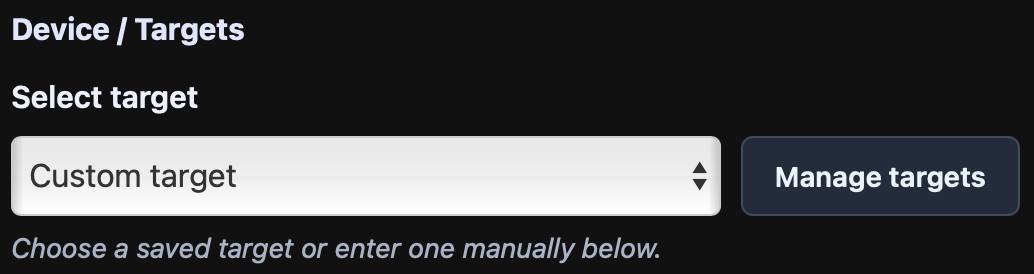
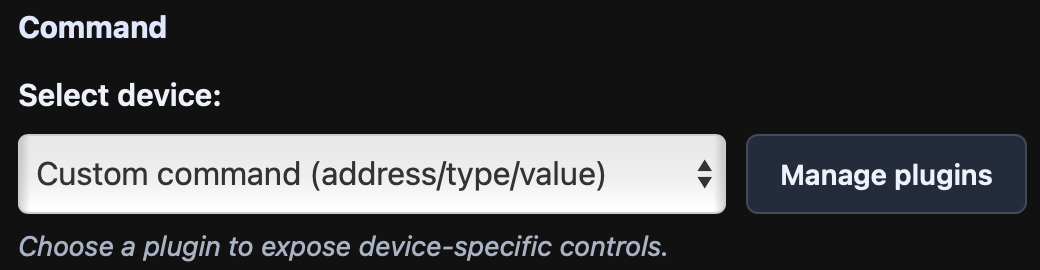
Default Target Here you can select a default target that will be pre-selected when creating commands. If a Default Plugin has also been assigned to this target, it will be pre-selected as well.

The Library button opens the library of command templates installed through plugins or created by yourself, which can be used here. They are filtered by protocol (so the MIDI dialog, for example, only shows MIDI templates).

You can also test the macro directly and optionally set a "Time between Go" to prevent accidental double triggers.

Multi-Step Macro
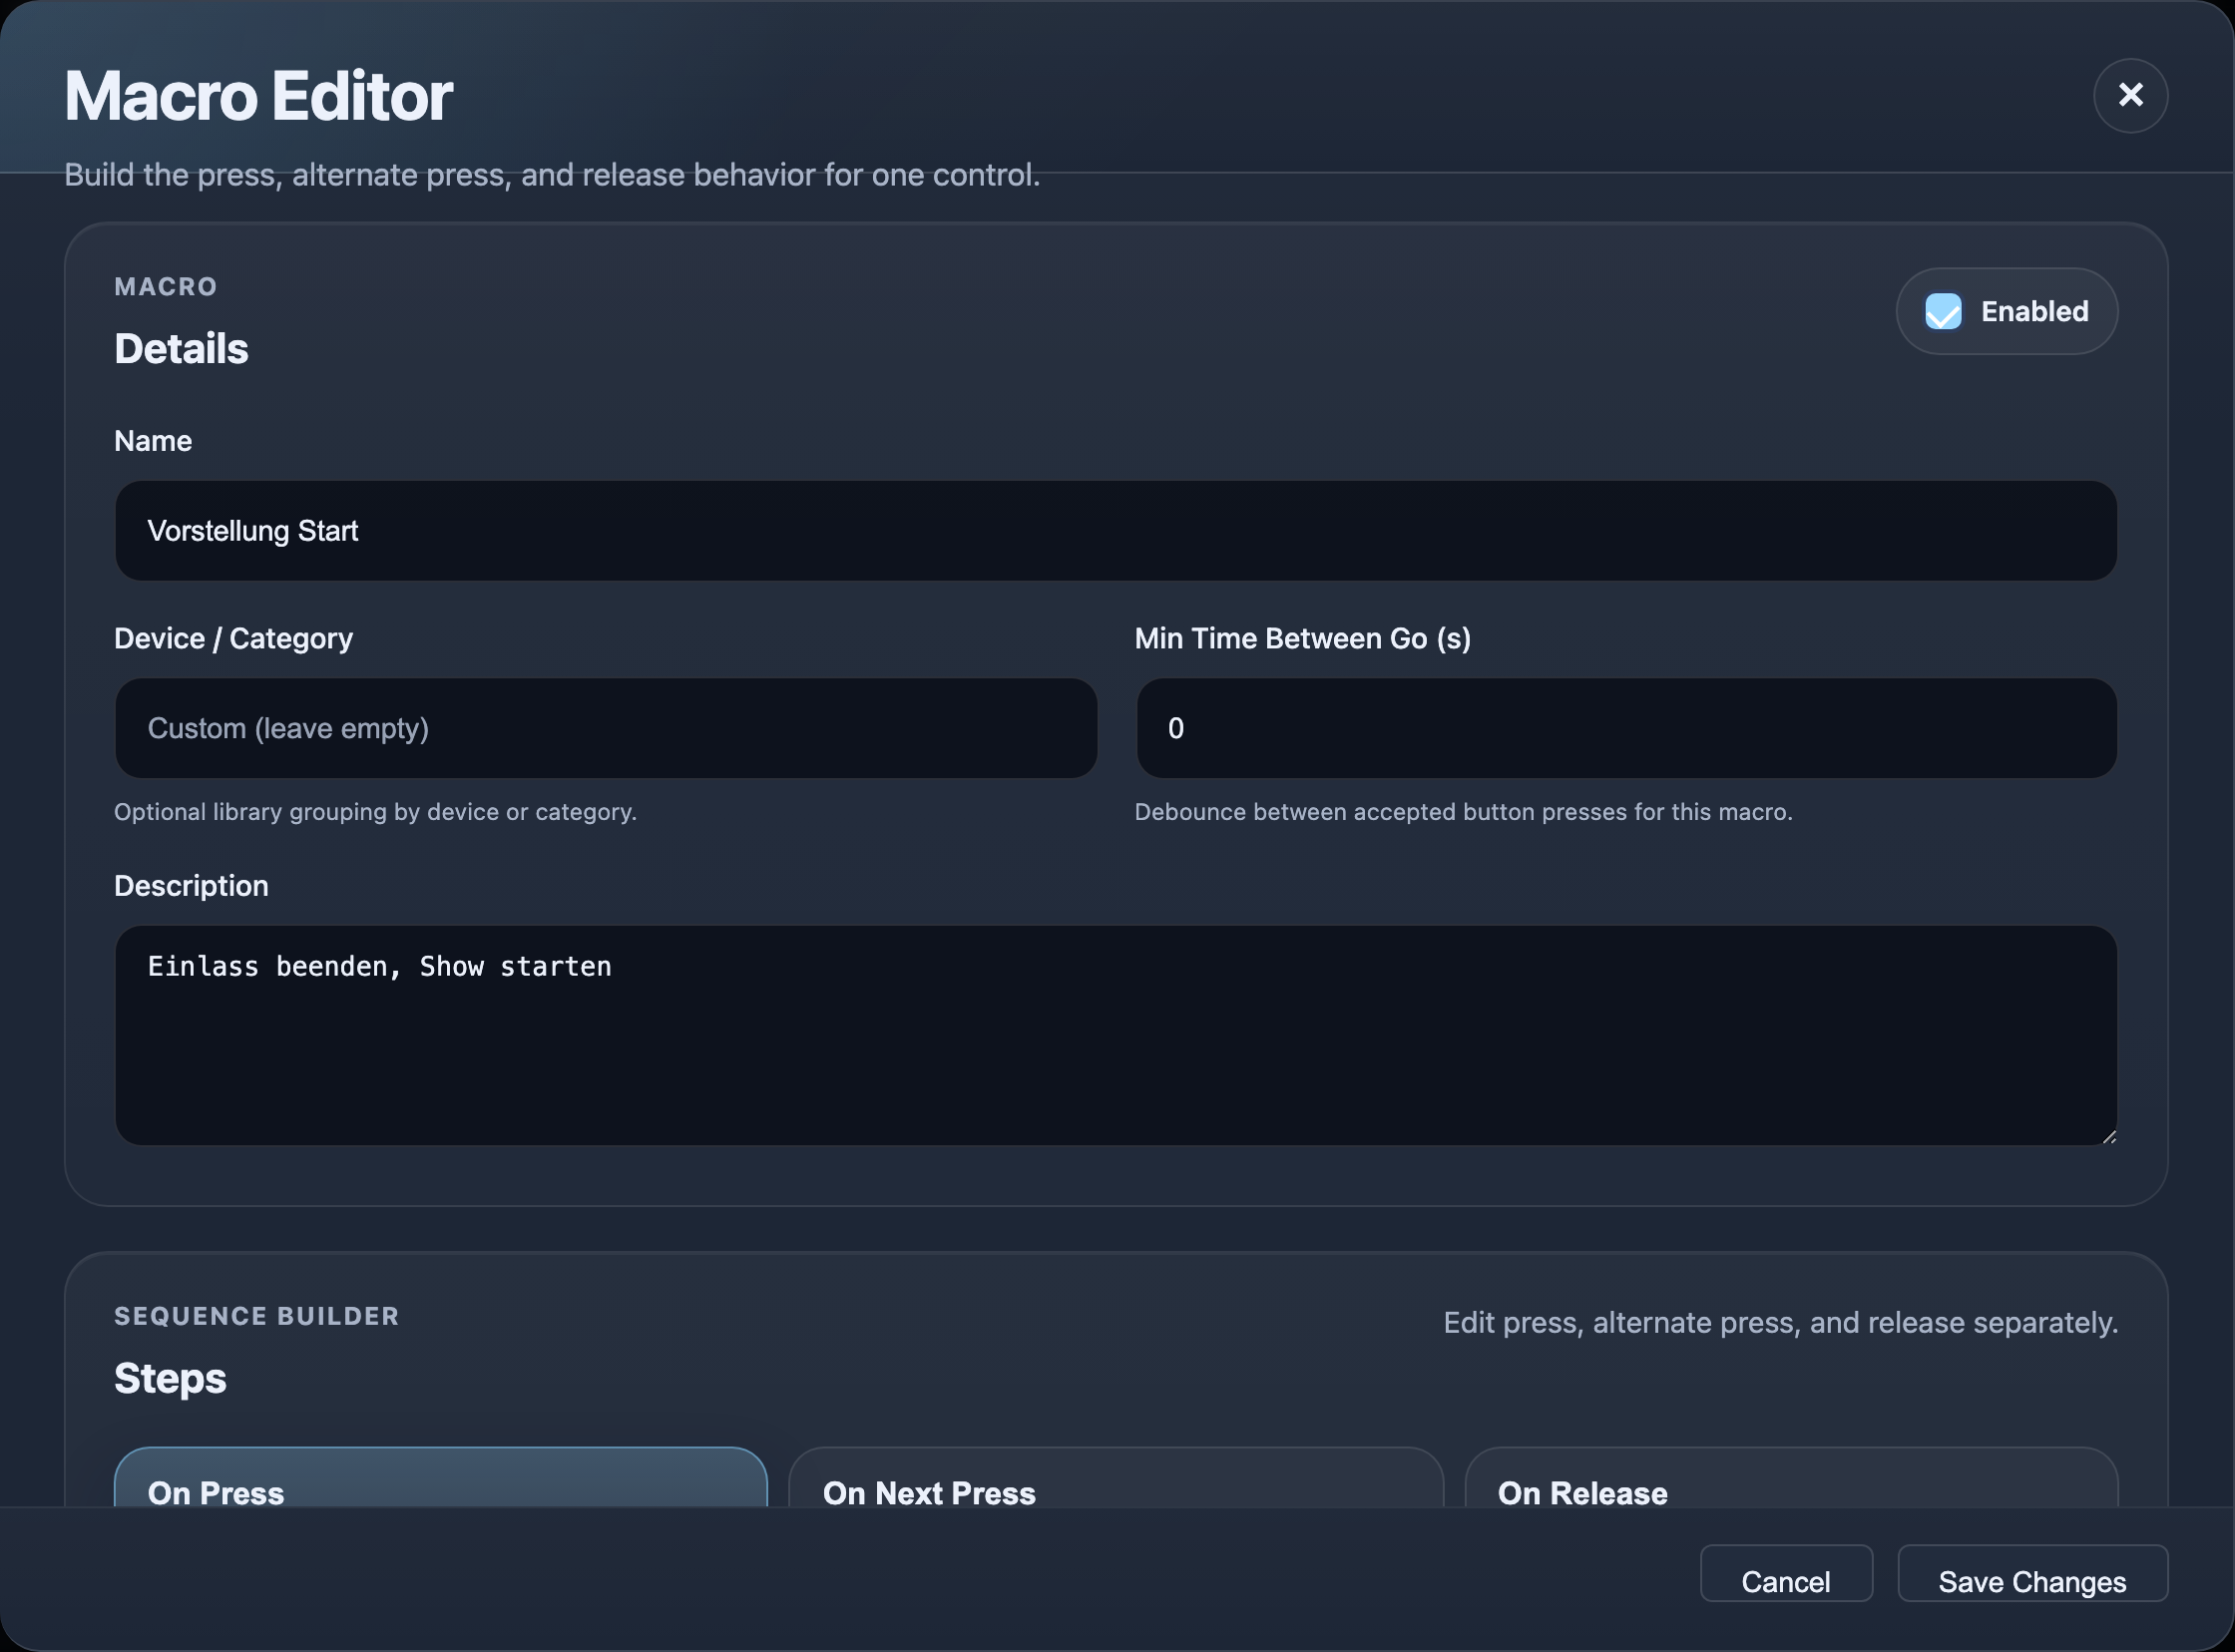
Set a name and description, then configure the sequence of steps in the step editor below. Steps can be reordered via drag & drop. Save the macro with Save Changes. It will be assigned to the button and stored in the library under Custom or the defined device name.
Sequences: Press, Next Press, Release
A multi-step macro can hold three separate step sequences. Only On Press is mandatory; the other two are added via a checkbox in the editor.
| Sequence | When it runs | Typical use |
|---|---|---|
| On Press | On the normal button press | The default case |
| On Next Press | On every other press, alternating with On Press | Toggle behaviour: on/off, lights up/down, mute/unmute |
| On Release | When the button is released | Button-up actions, cleanup, momentary behaviour |
Companion Mode
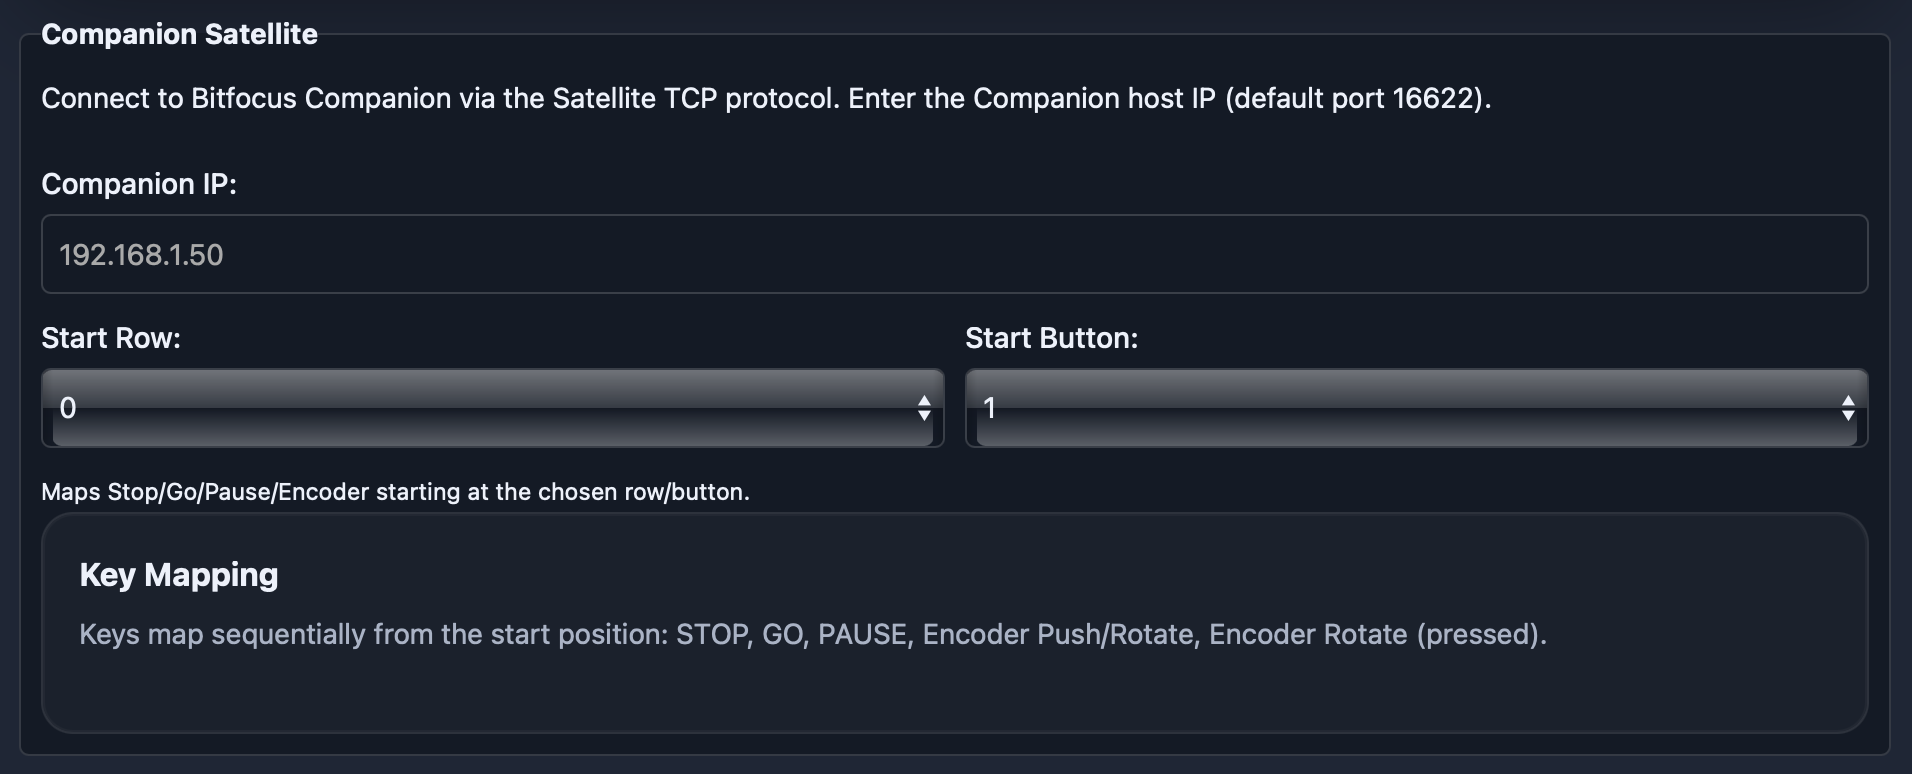
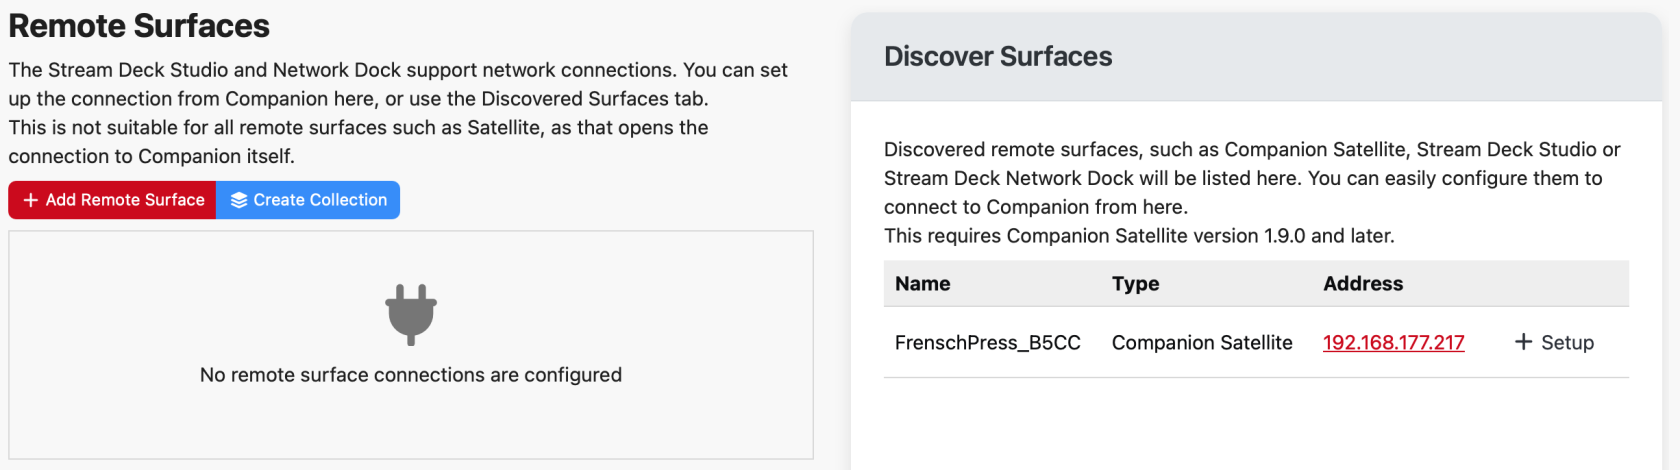
In this mode, the FrenschPress can be used as a surface (satellite) for Bitfocus Companion. You can either enter the IP address of the Companion host manually, or configure everything directly from Companion. The FrenschPress appears under Surfaces → Remote in Companion and can be set up there. Start button and row default to 1/0/1 to 1/0/5, but can be adjusted on the FrenschPress. LED colors and feedback can be controlled directly from Companion.
Default LED color (Companion Mode): LEDs start off (black). All colors are driven exclusively by Companion as button feedback.
Timecode & Timeline
MTC Master, the MTC bridge between the USB ports, Art-Net timecode and the time-driven Timeline have their own section:
- Timecode Overview — MTC Master as a macro step, bridge, live display, LED feedback
- Art-Net Timecode — enabling, health monitor, quick tuning, transport
- Timeline — firing macros frame-accurately from timecode
Stream Deck
With a Stream Deck attached to the USB host port, a dedicated Streamdeck tab appears. Key mapping there uses the same macro picker as Custom Mode, but has no button sets — one macro per control. See Configuring the Stream Deck.
HID Mode
Alternatively the FrenschPress can enumerate as a USB keyboard and mouse instead of a MIDI device. While HID Mode is active, USB MIDI and macros are disabled. See HID Mode.